Wood & Pickett trim
The spice of this car in my humble opinion, is definitely the W&P touch. Not much of the original work is present, soo I focused my efforts on saving that could be saved. I was facing a hard task. without the necessary care, the leather has a aged and shrinked badly. It became brittle and hard to the touch. Moreover the paint faded and the leather became discoloured. The wooden back of the panels became bent.
Becase of the special technick, the wood could not be replaced soo my first task was to make the panels straight again. in order to succeed, I first soaked the wood in a special water based lotion, which contained latex glue. After a nightover, I put the panels into a special press and left it there for a day. After 2-3 sessions, the panels straightened to an acceptable shape. My second task was to clean the leather througly. After cleaning the surface, It came into light how badly the original paint discolored. I had to find a solution to repaint the leather, without applying a complete coating, which would distroy the originality. I finaly ended up with an alcohol based paint, which I filled into a dry felt pen. It worked nicely. The same paint I used on the carpets covering the bottom of the door cards. After finishing the painting I slowly reoiled the leather to make it soft again.
Now we have something at hand. Many interiour parts will need to be reupholstered though. We will try to find materials close to what we have now.
Friday, 22 August 2014
Panel beating 5.
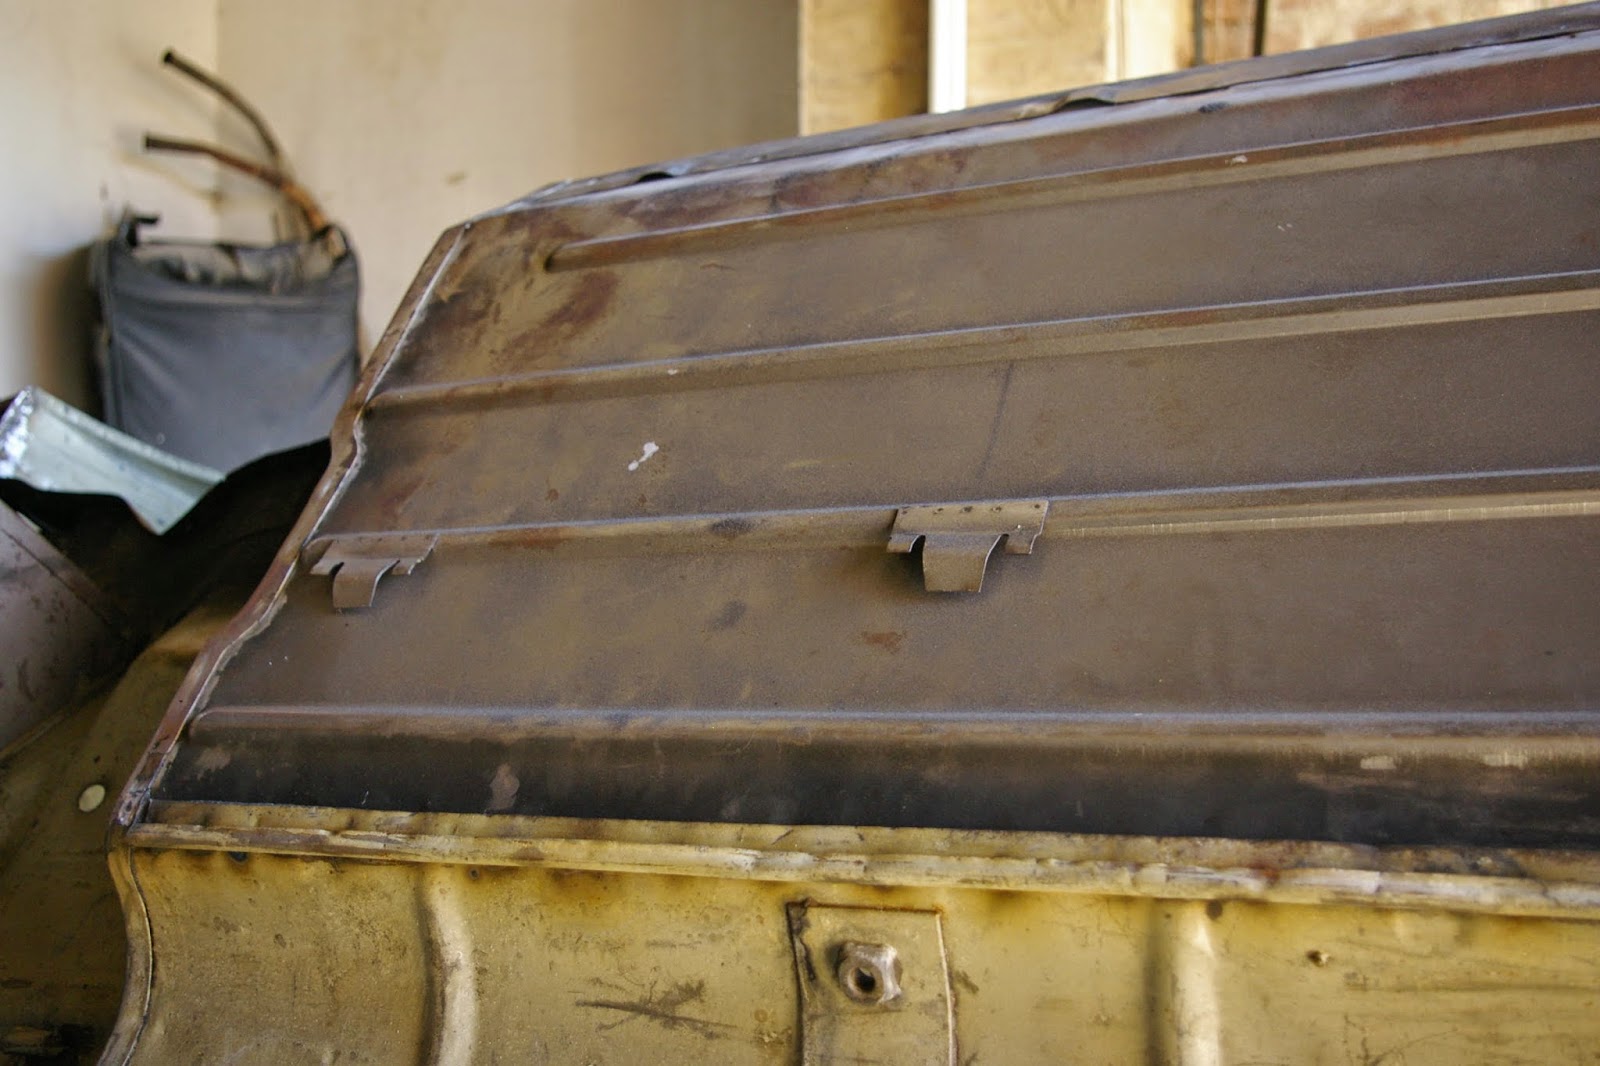
One door skin had a few small holes on the bottom soo we decided to replace the panel. When we removed the original metal, we realized how good idea it was to replace that part. The seams were quite badly rusty. The replcement door skin was perfect fit. Now we are quite puzzled about the other door. Although it is not rusted trhrough (yet), but we are quite sure the it looks like the same as this one on the hidden side. I think it would be better to replace the other skin also.
g
Panel beating 4.
After we came out of the rusty wilderness of the front end, we moved on to the floors. Although the floors were in an acceptable condition for the first glance, after the sand blasting we found many problems and low quality repairs, soo we finaly concluded in replacing each floors and inner and outter sills, leaving only the tunnel in place. This not only enabled us to treat the floor, but also to open up all the lower closed sections of the body to clean all the rust away.
After we came out of the rusty wilderness of the front end, we moved on to the floors. Although the floors were in an acceptable condition for the first glance, after the sand blasting we found many problems and low quality repairs, soo we finaly concluded in replacing each floors and inner and outter sills, leaving only the tunnel in place. This not only enabled us to treat the floor, but also to open up all the lower closed sections of the body to clean all the rust away.
Mr. Flintstone was quite statisfied with our progress on his vehicle.
New subframe mount was needed.
Closed sections painted with rust preventive primer.
Wherever it was possible we used spot velding for factory look.
Thursday, 7 August 2014
Panel beating 3.
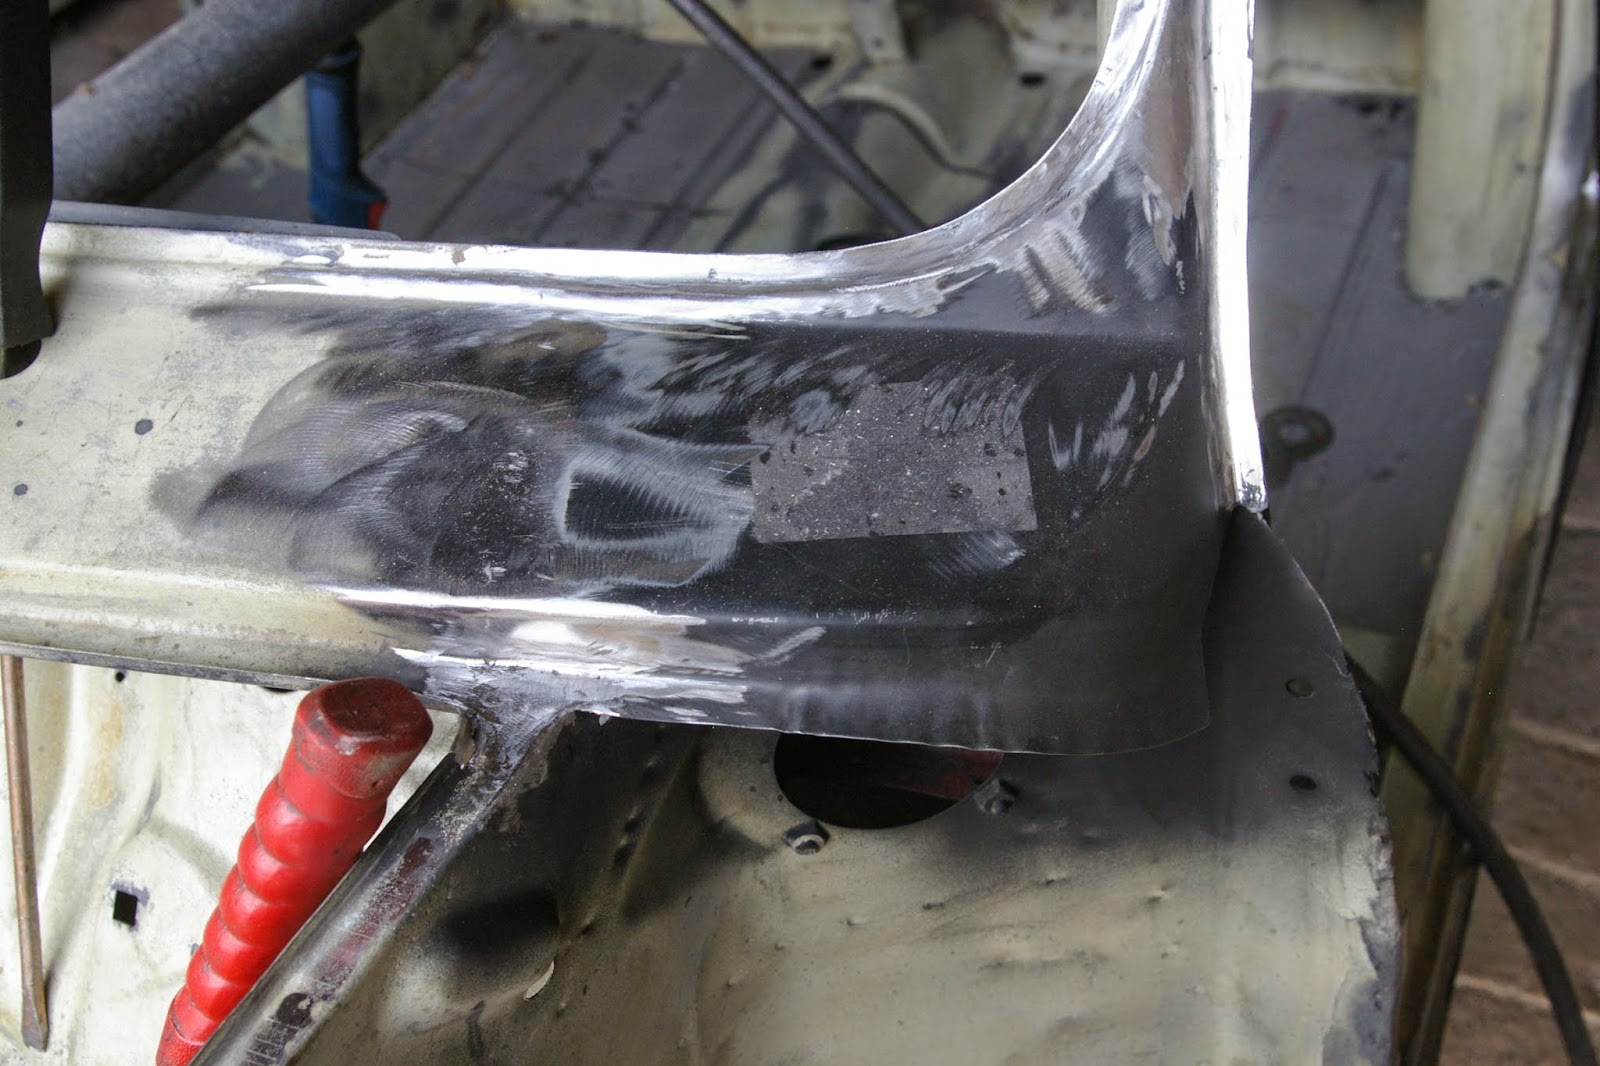
First we handle the front end. We have to fix the results of a crash, and the usual rust problems (under the shock absorber mounts, at the wing top corners, a-post outter covers etc. Some of thoose are not even visible from the outside, but with some experience now, we know what to look for and where to start looking. With the finished front end, we go for the floor and sills now.
First we handle the front end. We have to fix the results of a crash, and the usual rust problems (under the shock absorber mounts, at the wing top corners, a-post outter covers etc. Some of thoose are not even visible from the outside, but with some experience now, we know what to look for and where to start looking. With the finished front end, we go for the floor and sills now.
Subscribe to:
Posts (Atom)


