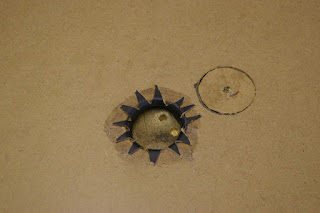
And thanks for the fishes :-).
Mini Cooper S Mk3 restoration
Saturday, 9 July 2016
Engine setup
We use an Innovate Motorsports LM2 wide band O2 sensor to set the mixture. Normally we with some effort we can find a suitable needle. This time we had to go on the hard route, making 2 identical special needles. The have to be identical down to 0.02mms at each 16 measuring positions. It took us 3 days to get there.
Balancing and rebalancing is mandatory in order to get the car through the emission test. Before releasing the car, the emmission was set to 3.5CO and 630HC.
We modified the damper system for better accelerator reaction.
Interiour
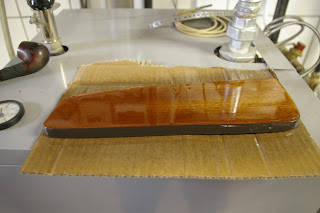
The dashboard we did after some period pictures. We used as many period correct parts as we could. The door was cut from an original Jaguar dashboard. 11 layers of clearcoats went on it.
The lock and the hinges are also period correct parts. jut like the chrome stop.
The Innocenti window system gave us a bit of trouble...
Thanksfully the trimmer was lazy to cut the winder's hole on the leather. His misstake was our gain :-D.
Period original steering wheel, retrimed in Connolly leather.
NOS Britax inetria seat belts make the final touches on the interiour.
Assembly 4.
Though most of the parts were rebuilt before, there were some that escaped :-).
The sticker needs to go back after repaint. Although it is not visible once assembed, but I KNOW that it is there :-D.
Although we replaced the original points with an electronic ignition system, we painted the coil black, and camouflaged it with a period correct sticker.
Our Porsche project left us with a bit of race quality CV grease. Why not using it on the Mini :-)?
All switches were taken apart and cleaned to assure good contact.
Nice detail is the sticker on the wheel. We did it after the remains of the original sticker.
Saturday, 5 March 2016
Assembly 3.
The painter forgot to paint this panel matt black as it was originally.
The Benelite grille looks fantastic, with the nos Lucas fogs.
Never too late to start a carrier!
Thick felt went under the Wilton wool carpeting.
The gear lever is a period correct accessory, with a better angle to match the higher siting position of the Aston Martin seats.
6 layers of clearcoat went on the restored venier.
A bit of cheating: a retro looking coil.
Had a bit of trouble with the repro remote servo unit, but a some drilling and voila!
Monday, 15 February 2016
Front seats
At a point we decided to use only oldschool Connolly leather for the interior, as it must be the closest to the original hides of the era. This decision has proved itself basically right, but the picture is more detailed now. Due to the old (vegetarian based) tanning method, the leather is uneven in thickness varying from 0.7-1.5mms. It is a bit more rigid than modern leathers, but what makes it really complicated to work with, is the fact, that is can only be stretched a very little bit as anything above the minimal, the color becomes uneven, revealing the natural color of the hide. Quite challenging, but at the end it came out nicely.
Most of the parts of the seat are original. We only made a few changes. The most important being to replace the cardboard backing to an alloy one. Without that step, the back of the seat would not look too impressive. We also kept the original thickness of the foams, just added a bit of padding to bare metal parts.
Subscribe to:
Comments (Atom)


